It’s common to see worms lying on the street and sidewalks during and after rainfall. The tragic reason worms are there is because they wish to survive. They have escaped the flooded ground and have now chosen between being drowned, being bird breakfast, or being stamped to death. However, there are some ways you can help the worms.
You can help worms on the sidewalk in multiple ways, and in some ways, you can also benefit from it. You can save the worms by moving them to a dry spot, taking them home as pets, having them help you in your garden, or letting them help you with your compost.
I have been a worm catcher for many years, and I love walking outside in the morning helping worms who struggle to survive. I will share my best tips for catching worms and the best ways to help and use them simultaneously.
Why should I help worms?
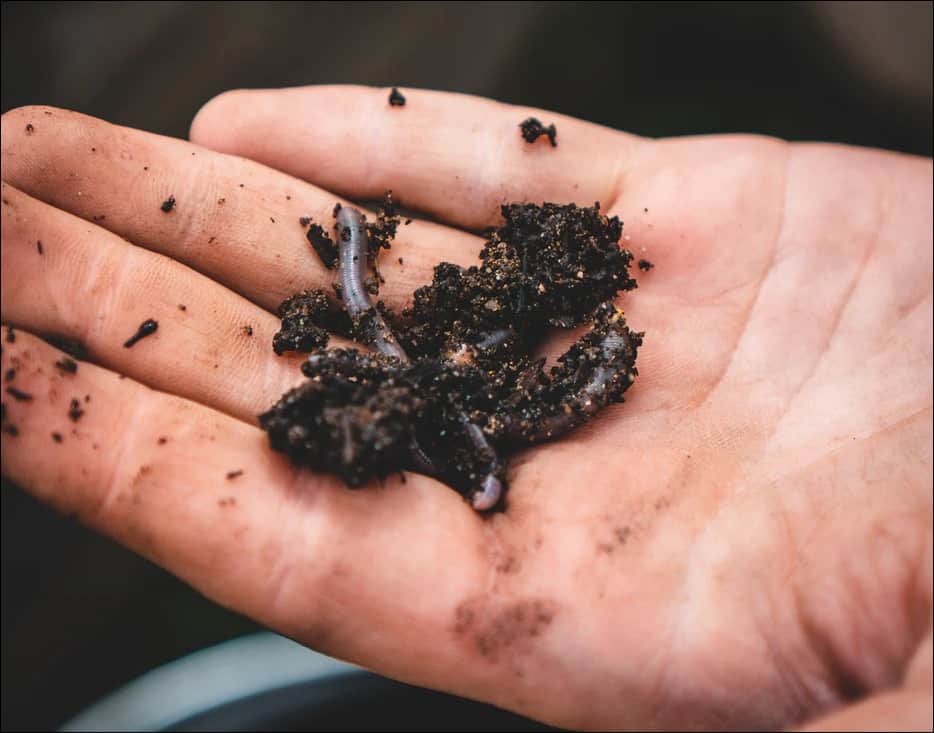
Worms are crucial for our ecosystem, and everyone benefits from having them around. Worms break down microorganisms and poop 1 gram of poop every day. That poop is great, nutritious, and improves the quality of the soil tremendously. The poop can also be called worm castings. Despite pooping nutritional gold, they are also excellent diggers that help plants building their root system easier. Their hard pointy head shaped like a small drill makes them perfect for digging tunnels underground. The tunnels oxygenate the soil and making it more healthy. Their diet contains most of the dead plants and microorganisms on leaves found underground.
What to bring when catching worms
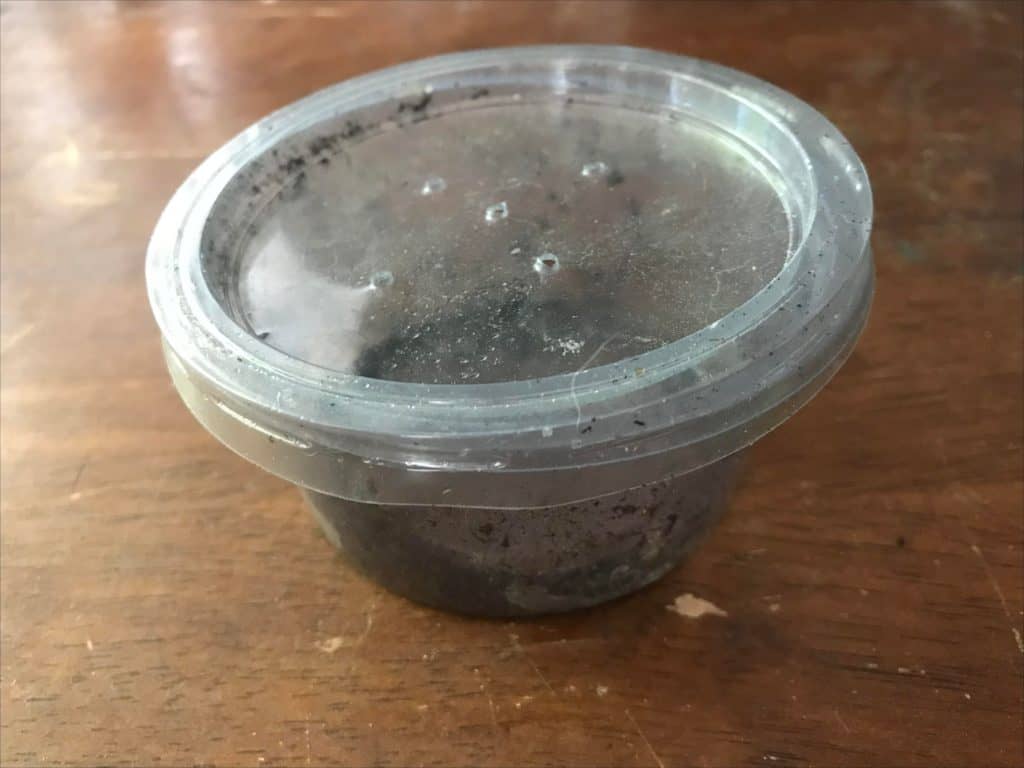
You can expect worms lying on the ground after and during rain. My main advice would be to dress for the rain and a good pair of rubber boots. I usually bring a small plastic container with a lid. About 4″ (10cm) in diameter and 2″ (5cm) in height. The lid has some tiny holes so that the worms can breathe, but yet small enough so they can’t crawl through. I fill half the container with good moist soil so the worms have something to rest and take cover under. A safety tip is also to bring a small cloth to pick up the worms since they can carry diseases. It also helps to get a better grip on them.
Packing list for catching worms:
- A small plastic container. A little bigger than a hockey puck.
- Some good moist dirt in the container.
- A cloth to pick up the worms with.
It’s common to see the worms lying still in the can. They have recently escaped a waterflood and were a bit distressed, so I would imagine they are resting. I usually put the container in my pocket, providing it warmth and darkness. Read my five best tips to catch worms for your compost here.
Moving the worms to a safer place
If you don’t have any use yourself for the worms in your garden or compost, you can quickly help the worms find a safer spot. The worms appreciate a damp place hidden from birds and away from roads where they can regain strength. A great place for worms should be in the woods, far away from traffic. However, make sure there aren’t any ants nearby since the ants love to feed on worms. Why not bring a small piece of fruit to have them munch on? Check our article on fruits you can give to worms here.
Is catching worms fun with the kids?
Catching worms can be both exciting and messy. What is there not to like about it if you are a kid?
When I was young my dad and I created great memories when we went catching worms, and we competed how many we could collect. However, since it’s kinda messy and requires bad weather it isn’t for everyone. But sure, if you want help finding worms on the ground kids are excellent finders.
Using the worms in your compost
If you have compost at home, you are in luck. The worms are very beneficial in turning your old food scraps into rich, dense soil. However, there are some things to know before starting vermicomposting. For example, it shouldn’t be any citrus fruits since they are very acidic.
The benefits of having vermicompost are several. The dark soil, almost coffee ground like is nutritious and is an excellent fertilizer for plants. Not only can you use the worm castings for plants, but they are also used directly on plants without burning them. If you aren’t sure what foods worms can’t eat you might want to read my article on that.
Using the worms in your garden
Worms are an excellent companion to have in your garden. For example, they dig tunnels aerating the soil; they consume decaying matter such as fungi and bacteria. They break it down to worm castings which are superb potent amendment soil. The most common worms you will find outside in the rain are annelids (earthworms).
Build a plastic worm bin
This is an awesome thing to do with kids. Making a small worm aquarium or worm bin. Especially if you are able to see through the bins. The kids will see how the worms work together and make progress. However, worms don’t enjoy the light you will need to have it in a darkened area and preferably shaded with a towel. I store my bin under my sink since it’s a dark place and easy to add food scraps when needed.
The basics things you need to build your own worm bin are:
- Two stackable plastic bins
- A dark towel
- A drill
- Something that separates the two bins from each other. Perhaps a clothespin? Use your imagination.
- Worms
- Some good moist soil
- A newspaper
- Some water in a spray bottle (preferably rainwater)
Getting started building a plastic worm bin
- Start by drilling multiple holes in the lid. 1-2 inches (3-6cm) between each hole. The size of the holes doesn’t matter as long as the worms have a good environment overall.
- Drill holes on every side at the top in one of the plastic bins. 2-3 inches apartment depending on the size of your bin.
- Drill holes on the floor of that same container so that worm castings and liquid fertilizer can fall through.
- Stack the two bins, so the one you drilled your holes in is at the top. The benefit of using two containers is because it will be easier to remove the worm castings and liquid fertilizer much easier. The more bins stacked, the easier the process is. If you are using more than two bins, drill holes in every bottom except the lowest one.
- Put a small layer of the soil and try to make it as even as possible.
- Place the worms gently in a corner. Don’t spread them out. They enjoy the darkness and dislike the light.
- Let them get acquainted with their new home until the next day. Put the lid on and get back to it tomorrow.
- When returning to the bin the next day, you will begin with the next layer. Start by shredding a newspaper so it covers the dirt. Spray the newspaper lightly with water.
- The next layer will be food scraps. Chop up the food as much as possible so it will be easier for the worms to digest. No citrus fruits. Worms don’t like the acidic taste. You want the worms to feel welcome in their new home.
- After you made an even layer of food, it’s time for another layer of newspaper. There is no need for more water since it’s already quite moist.
- The next layer you will add is either coffee grounds or eggshells. In case you use eggshells, make sure they are in small chips. It will be easier for the worms to digest them. The shells provide a good amount of calcium, neutralize the soil’s pH levels, and keep them healthy.
- For the first time, it’s a good idea to spread it around to generate some movement in the bin, but later, when adding more food scraps, it’s better to put the leftovers in one section.
- For the last layer, add another layer of dry newspaper.
- Put on the cover, put it in the cupboard, and leave for the next couple of days.